Golf Simulator Projector Setup: Mounting & Throw
How to set up a golf simulator projector: short-throw ratio, throw distance math, ceiling mounting, keystone alignment, killing shadows, lumens, and cable runs.
The key to a clean simulator image is a short-throw projector mounted on the ceiling behind and above the hitter, placed at a distance equal to its throw ratio multiplied by your screen width. A short-throw ratio of 0.5 to 0.8 lets the projector sit close enough to clear your swing and avoid the shadows that ruin a setup. This guide walks through the throw math, the mounting position, keystone and alignment, brightness, and cable runs, so your screen looks sharp and your body never blocks the picture.
Projector setup shopping list
The short-throw projector, mount, cable, and screen that make up a clean, shadow-free image.
-
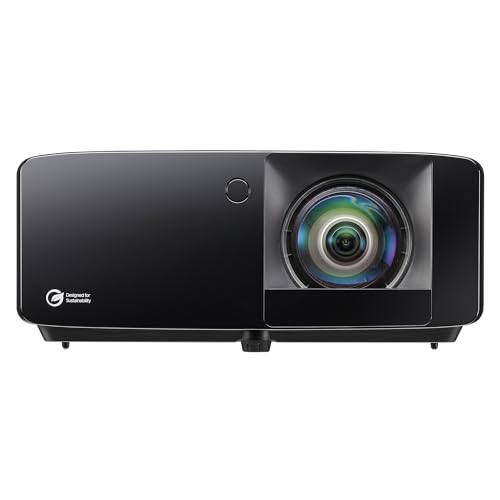 Short-throw projector Optoma Optoma GT2400HDR Short Throw Laser Projector
A 4,200-lumen 1080p laser with a roughly 0.5 throw ratio, so it mounts close and high to clear your swing and kill shadows.
$1,299.00
Shop on Amazon → -
 Ceiling mount Mount-It! Mount-It! PRO Heavy Duty Projector Ceiling Mount
A full-motion ceiling mount with a 77 lb capacity and a 29 to 45 inch drop for setting the projector behind and above the hitter.
$151.99
Shop on Amazon → -
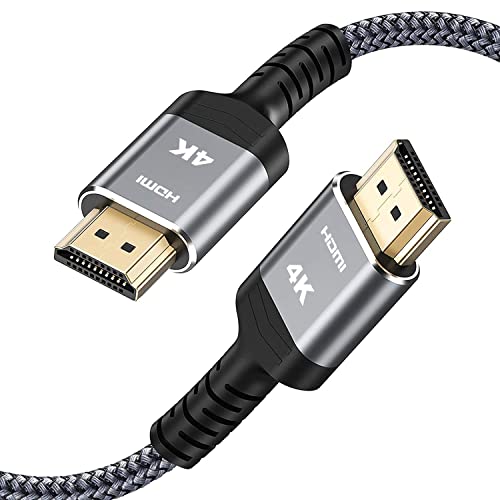 HDMI cable Highwings Highwings 25 ft High-Speed 4K HDMI Cable
A braided 18Gbps HDMI 2.0 cable long enough to run from a hitting-area computer up to the ceiling-mounted projector.
$13.99
Shop on Amazon → -
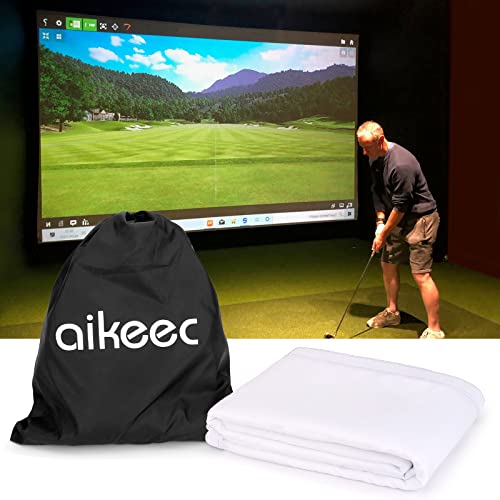 Impact screen aikeec Aikeec 7mm Thickened Impact Screen with Grommets
A thickened 7mm ultra-clear screen with 32 reinforced grommets, a bright DIY surface to project onto and bungee-tension in your frame.
$104.99
Shop on Amazon →
Prices update on Amazon and change often. As an Amazon Associate we earn from qualifying purchases at no extra cost to you.
Start with throw ratio and distance
Throw ratio is the single most important projector spec for a simulator. It tells you how far back the projector must sit to fill a given image width. The formula is simple:
Throw distance = throw ratio x image width.
So a projector with a 0.6 throw ratio filling a 10-foot-wide screen needs to be 6 feet from the screen. A standard-throw projector with a 1.5 ratio would need 15 feet, which pushes it deep into the room and directly into your swing path. That is why short-throw projectors, those with a ratio of 0.5 to 0.8, are the standard for golf simulators: they fill the screen from close range and can live on the ceiling near the screen, well clear of the hitter.
| Throw ratio | Distance for 10 ft screen | Distance for 12 ft screen | Simulator fit |
|---|---|---|---|
| 0.5 (ultra short) | 5.0 ft | 6.0 ft | Excellent, mounts very close |
| 0.6 | 6.0 ft | 7.2 ft | Excellent, common sweet spot |
| 0.8 (short) | 8.0 ft | 9.6 ft | Good, mount well behind hitter |
| 1.2 (standard) | 12.0 ft | 14.4 ft | Poor, lands in the swing path |
| 1.5 (long) | 15.0 ft | 18.0 ft | Avoid, heavy shadowing |
Plug your own numbers into the projector throw calculator to find the exact mount distance for your screen, and see the projector throw ratio chart for a quick reference across common models.
Mounting: behind and above the hitter
Once you know your throw distance, mount the projector on the ceiling behind and slightly above the hitting position, aimed forward at the screen. This placement is the whole reason short-throw matters. With the light path traveling over your head and shoulders, your swing never crosses the beam, so you do not cast a shadow on the ball at the moment you most need to see it.
- Center it left to right. Align the projector with the horizontal center of the screen so the image is square and you minimize correction.
- Mount it high. The higher the projector sits, the more cleanly the light clears your body. A ceiling mount or a high shelf behind the tee is ideal.
- Confirm clearance for both hands. If anyone left-handed will use the room, check that the beam clears their swing too, since the shadow risk shifts to the other side.
- Use the throw distance, not a guess. Set the mount at the calculated distance so the image fills the screen at native zoom, which keeps it sharpest.
Keystone and alignment
Keystone correction digitally squares up an image that is projected at an angle, turning a trapezoid back into a rectangle. It is a convenience, not a goal. Every bit of keystone correction throws away some resolution and softens the picture, because the projector is stretching pixels to fake a square image. The better approach is physical alignment: mount the projector level, centered, and perpendicular to the screen so the image is naturally square and you need little or no keystone at all.
Use the projector's lens shift if it has one, since lens shift moves the image optically without quality loss, unlike keystone. After mounting, project a test grid and adjust until the edges are parallel and the corners are sharp. Lock the mount only once the image is square, level, and filling the screen edge to edge.
Killing shadows for good
Shadows are the most common complaint in a poorly planned simulator, and they are pure geometry. A shadow appears when your body blocks the light between the projector and the screen at swing height. Fix it by getting the light path above and behind you:
- Use a short-throw ratio so the projector sits close and high rather than far back at body height.
- Mount as high as the ceiling allows so the beam passes over your shoulders.
- Center the projector so the light is not raking across your stance from one side.
- Test your actual full swing in the room before locking the mount, both backswing and follow-through.
Get these four right and shadows essentially disappear for both right and left handed players.
Brightness and lumens
Impact screens are built to stop golf balls, not to reflect light perfectly, so they soak up some brightness. Plan for at least 3,000 ANSI lumens for a vivid image, and 3,500 or more if the room sees any daylight or ambient light. In a fully darkened, dedicated room you can drop to about 2,500 lumens, but extra brightness buys you better contrast and a clearer picture. Pair the right brightness with a short-throw lens and you get an image that looks great even during the day. Our best golf simulator projectors guide lists models that hit these targets.
Cable runs and connections
Plan your wiring before you drill a single hole. A ceiling-mounted projector needs power and an HDMI signal run to it, and a tidy install hides both in the ceiling or wall. HDMI signal weakens over long distances, so for runs beyond roughly 25 feet use an active or fiber-optic HDMI cable, or an HDMI-over-Cat6 extender, to keep a stable, full-resolution image. Leave a short service loop of cable at the projector so you can fine-tune its position during alignment, and label both ends so future troubleshooting is painless.
Putting it together
The whole setup flows from one decision: a short-throw projector with a 0.5 to 0.8 ratio. That choice lets you mount high and close, which clears your swing, kills shadows, and keeps the geometry square so you barely touch keystone. Add enough lumens for your light conditions and a clean cable run, and you have an image that holds up shot after shot. Confirm your exact mount distance in the projector throw calculator, then size the rest of your room with the room size calculator.
Golf Sim Build Planner
Room-fit worksheet, gear checklist, budget tracker, and wiring and lighting plan, in one printable planner that takes your build from idea to first swing.
Frequently Asked Questions
How far should a golf simulator projector be from the screen?
Multiply the projector's throw ratio by your image width to get the distance. A short-throw projector with a 0.6 ratio throwing a 10-foot-wide image needs to sit about 6 feet from the screen. That close placement lets you mount the projector behind and above the hitter so it clears the swing. Always check your specific projector's ratio and run the math, since ratios vary and a small change moves the projector a foot or more.
What throw ratio is best for a golf simulator?
A short-throw ratio between 0.5 and 0.8 is ideal for most simulator rooms. That range lets the projector sit close to the screen, usually ceiling-mounted behind the hitter, so it clears the swing arc and minimizes the shadow you cast when you stand to hit. Ratios above 1.0 force the projector far back into the room, where your body and club block the light and create distracting shadows on the screen.
Where should I mount a golf simulator projector?
Ceiling-mount it behind and slightly above the hitting position, aimed forward at the screen. This keeps the light path over your head and shoulders so your swing does not interrupt the image. Center it left to right on the screen to minimize keystone correction. A short-throw projector makes this placement practical because it can sit close to the screen while still filling it, which is exactly why short-throw is the standard choice for simulators.
How many lumens do I need for a golf simulator projector?
Aim for at least 3,000 ANSI lumens for a bright, punchy image, and 3,500 or more if the room has any ambient light. Impact screens absorb some light because they are built to stop golf balls, not to reflect perfectly, so you want headroom on brightness. In a fully darkened, dedicated room you can get away with 2,500 lumens, but more brightness gives you sharper contrast and a clearer image during daytime play.
How do I get rid of shadows on my simulator screen?
Shadows come from your body blocking the projector's light path, so the fix is geometry. Mount the projector high and behind the hitter with a short-throw lens so the light clears over your head rather than passing around your body at swing height. Center the projector so it is not angled across your stance. The combination of a high ceiling mount and a short throw ratio eliminates nearly all shadowing for both right and left handed players.
Should I run the cables through the ceiling or along the wall?
For a clean, permanent install, run a long HDMI cable and power through the ceiling or wall to the projector mount. HDMI signal degrades over long runs, so for distances beyond about 25 feet use an active or fiber-optic HDMI cable, or an HDMI-over-Cat6 extender, to keep a stable image. Plan your cable route before you mount anything, and leave a little slack at the projector so you can adjust its position during alignment.
Building a golf sim?
Use our free calculators and guides to size the room, the gear, and the budget.
Build Planner: $39